Wednesday, April 15, 2015

Harry Potter Party: Part 3

Time for some of the little things.  I know the kids didn't notice or care about a lot of the details, but I love them.  (That's what makes Disneyland such an amazing place for me - the details.  The big rides and attractions are wonderful, but I love the little things!  It just pulls everything together.)

In the same room with the letters flying out of the fireplace we have a mirror.  I took red acrylic paint and let it just kind of drip all over.

A fabulous friend used her Silhouette machine and cut out the vinyl lettering for the book covers.  I just bought some old books from our library.  $.25-$1.00 each.  Most were $.50


Displayed on the piano with the sorting hat and a little owl Christmas ornament I picked up in the @ Home store in Phoenix.  This was after the party so the hat had been loved and most of the treat bags were gone!

Tom Riddle's diary was a composition notebook and I slathered a TON of paint on it to get the texture.  I did cut a hole in it to look like I'd stabbed it with a basilisk fang, but that hadn't happened when I took this shot.
I made wands using wooden dowels and hot glue.  We put a base coat on them and then let the kids decorate them with metallic markers
Again, my wonderful friend cut out the lettering for the Ollivanders sign.  The black plastic you see there is a robe and it is the ONE THING I would totally get rid of from the party.  I bought a bunch of black plastic table cloths.  My mom cut a slit down the front, cut out the neck and then cut the arms.  She stapled the seams together.  But the plastic was so flimsy that the robes ripped.  A LOT.  We found staples all over the place after the party for a long time...
We made chocolate frogs using a mold I got from Amazon


We also filled some small containers with jelly beans for Bertie Bott's... the real beans were a tad expensive!!
 The candy's all went into a bag with a Honeyduke's label sealing it up!

We Googled some Educational Proclamations....
 Some Daily Prophet pages...
 And some wanted posters...

My oldest has some Harry Potter Legos that became part of the decor.
I created the Hogwarts Express, Platform 9 3/4 and Diagon Alley signs, again, with help of a friend and her Silhouette machine


This cute sign was painted by another fabulous friend
 I collected different items to try and represent all of the books.  Can you name the book(s) each item comes from?  It was a fun way to keep the kids entertained as well!


We have snowflakes up year round (because I'm lazy) so we hid a snitch up there.  Very few kids found it!
I had a couple of posters printed up as well

Next time (meaning eventually) I'll post pictures of all the activities and games that we did.  It really was a fun party!!

Tuesday, October 14, 2014

Harry Potter Party: Part Two

Fireplace, Great Hall floating candles, the Sorting Hat and the Platform 9 3/4 brick wall are today!
I found the inspiration for the fireplace letters and the brick wall HERE and another brick wall HERE(actually, the brick wall was in LOTS of posts that I found), the Great Hall floating candles HERE (again, saw these in lots of different places), and the Sorting Hat was HERE (this was just a set of picture instructions).

So, let's start with the fireplace!  In book one, "The Sorcerer's Stone", Harry's acceptance letters to Hogwarts keep getting intercepted by his Uncle.  One day hundreds and hundreds of letters come shooting out of the fireplace.  I saw a picture recreating the scene on the blog I linked to and knew I had to try it!

I didn't want to use actual envelopes.  So I found a .png file of the back of an envelope.  Then I found a .png of a Hogwarts crest.  Pulled them up in Photoshop and created the back
Then I typed up the front and printed 2 to a page on parchment paper.
I used invisible quilting thread to hang the letters from the ceiling.  I went with the quilting thread rather than fishing line for 2 reasons.  1 - it's pretty strong, but really thin, which makes it less noticeable and 2 - I already had it on hand :)  We just used thumbtacks to attach them to the ceiling and tape to hook the thread to the paper.  2 tips for this project -you really need 2 people to do this project.  One person to either be on the ladder and the other to be on the ground directing where you hang things.  It's really had to judge where the next letter should go when you're on the ladder.  It's a pain to get down and realize that it doesn't look right.  Tip #2 - take a few pictures as you go.  For some reason it gave me a better idea of where the holes or gaps were.
My husband had the idea of cutting one of the letters in half and putting it on each side of the glass in the fireplace.  It looked really cool!
The Great Hall floating candles were time consuming, but easy to do.  I bought battery powered tea lights at W*l-M*rt.  They were cheaper there than Am*zon.  I was told to check out dollar stores, but ours didn't have any when I needed them.  We tied the invisible thread around the flames on the candle, hot glued 1/4 of a piece of paper to the candle to make it look longer and again, hung them with thumbtacks to the ceiling.

We chose to have the candles at the bottom of the roll of paper rather than the top.  Just a personal preference of the birthday girl :)

The sorting hat was a project that turned out cool, but not how I had pictured in my head.  I started with a dollar store witch's hat, brown felt, fun foam, fake brown leather and hot glue.  I had everything on hand but the felt and the hat.  So this ended up being a really inexpensive project for me!

I covered it in the brown felt first just to give it some stability (dollar store witch hats are rather flimsy). Then I cut out a few shapes out of the fun foam to create the eyes and mouth and glued them on with hot glue.
Then I glued the faux leather on and scrunched it around till I kind of liked it
There you go!  It doesn't look quite the same after the party.  The kids had a great time playing with it and things shifted a little.  But I can pull everything back into place.

Last but not least is my Platform 9 3/4 brick wall.  I wanted the kids to be able to walk through the wall to get into the house.  This was another inexpensive project since I already had the fabric and the paint.  I bought a roll of masking tape for $.97.  Then I took an exacto knife to the edges of the tape and cut it up and mangled it a little.  I didn't want my "mortar" lines to be really straight.  I used my quilting ruler to put the tape down evenly
I was using spray paint, so we took it outside
 I started to run out of paint, but I think it kind of added to the brick look.
Pulled the tape off and loved the results!!
I know that was kind of a lot of information.  I'm wondering if I should have broken it into more posts??  Oh well.  The next post will probably be the little projects and then I'll do one more that will be a basic walk through of the party in action with pictures my wonderful friend took for me!! 

Monday, October 13, 2014

Harry Potter Party: Part One

It's been over a year since I've written anything for this blog.  I start to think about getting back into it and then life happens and I just don't.

That being said, I really want to document this birthday party we just threw.

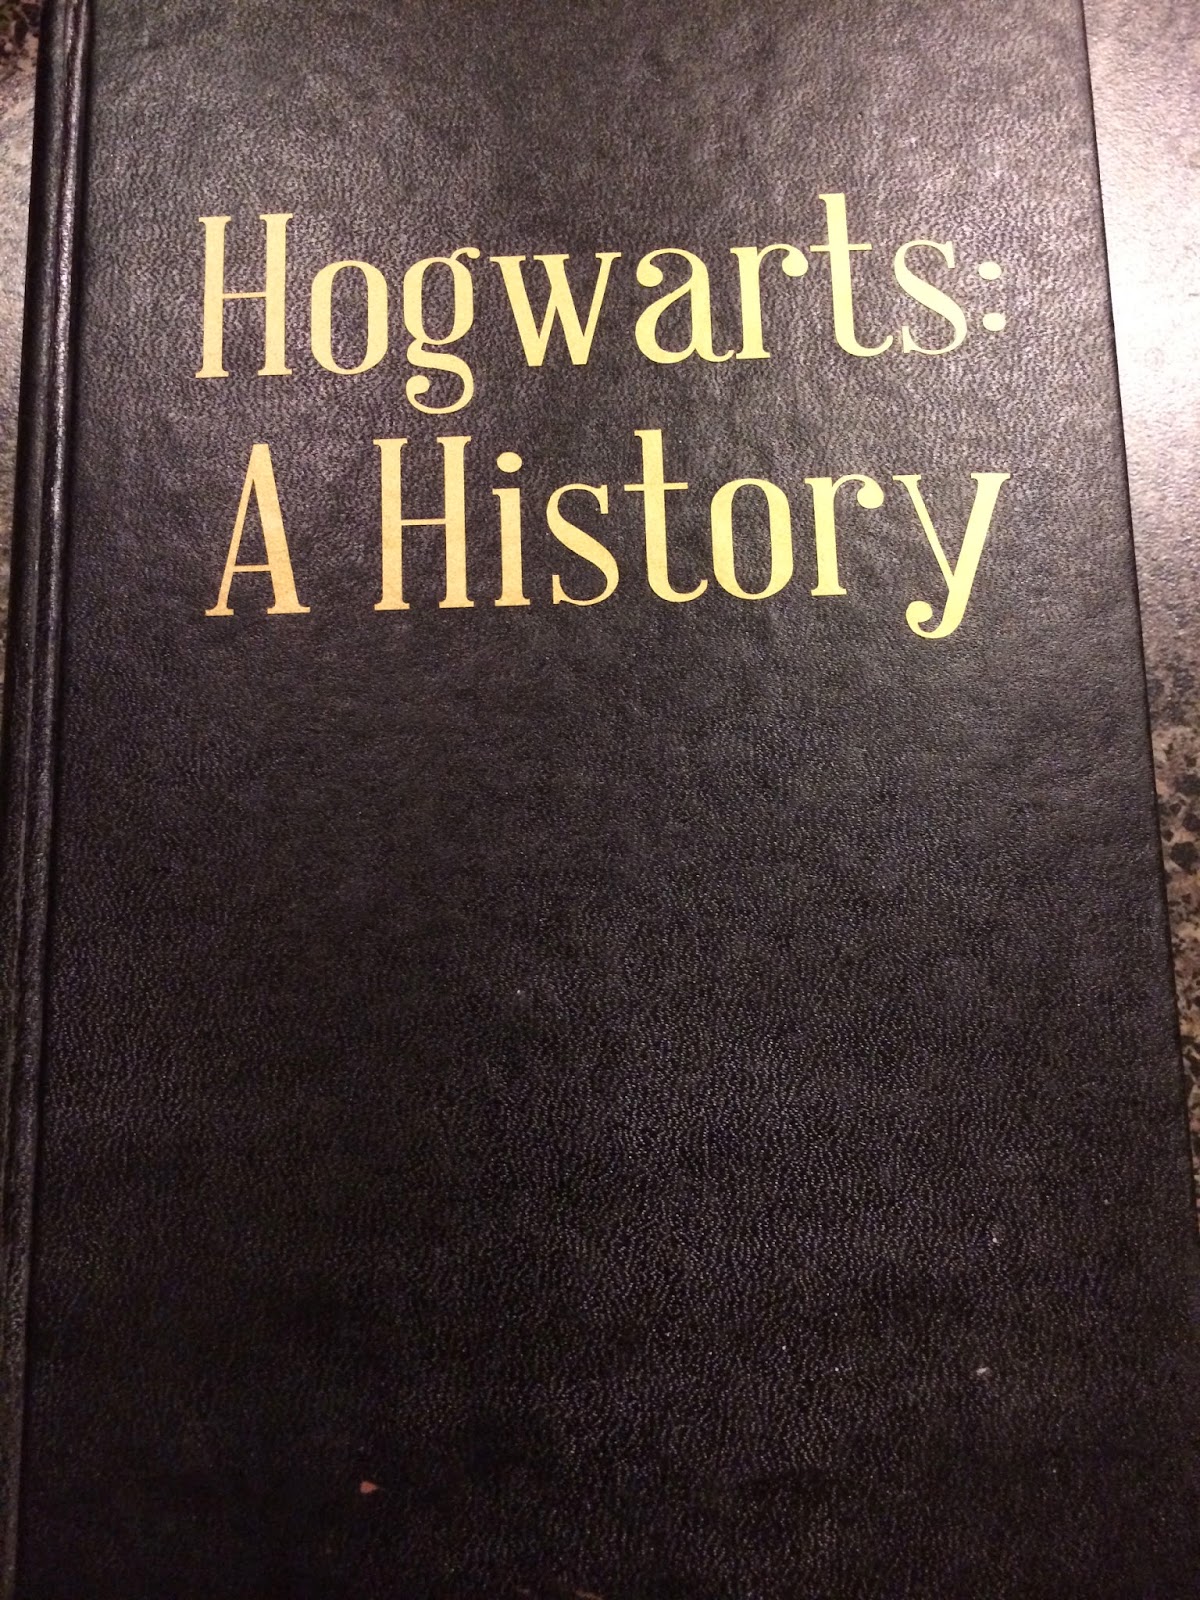
A year ago I read the Harry Potter books to Baby Girl (and everyone else who wanted to come sit and listen).  She realized she would be 11 on her next birthday (the age a young witch or wizard begins to attend Hogwarts) and it's would be a party year (we only do odd years).  Now, you must understand, I have wanted to throw a Harry Potter party for years.  YEARS I TELL YOU!!  So when she asked if we could maybe do a Harry Potter party for her birthday, I jumped on it!  This was 10% for Baby Girl and 90% for me, but I think we both loved it!

So, I'm here to share a few things.  Some tricks, ideas, and a few tips on things I would or wouldn't do if I was to do it over again.  I'll probably break it into lots of little posts.  I'm also going to try to link to the pages where I got the idea or inspiration from.  Ready, here we go!

First off, the invitations.  I started by making a seal for the backs of the envelopes.  I was going to buy one, but the actual seals were EXPENSIVE!  And I was trying to make this party as inexpensive as possible.

This idea came from a couple of places.  Check HERE and HERE.  (I didn't do any of the tea staining found in the one tutorial.  I bought a packet of parchment paper instead.)

I took some clay and shaped a kind of handle, flattened one end and then carved the crest and the H with a toothpick and a straight pin.  It was then baked according to the directions on the package.
To make the seals you need wax paper, hot glue, a shallow dish of oil, a bag of ice, your stamp and paint in the color of your choice.  You put your stamp, crest side down, onto the bag of ice.  Then you make a good sized blob of hot glue on the wax paper.  Dip your stamp into the oil and then press it into the hot glue (I dabbed a tiny bit of the oil off first).  Wait for the hot glue to cool and harden.  Wa-lah!!
There was some oil residue on the seal and the wax paper had stuck to the back of the glue, so we washed them all in soapy water before painting.  I used a red spray paint for the seals.  Just stuck them all in a box and went to town.  And this was the result:
We used the acceptance letter as our invitations.  I printed them up on parchment paper that I had bought from a big box store.  I got the tutorials for the letters from HERE and HERE and HERE.  The bulk came from that last link.  I also just Googled it and got tons of ideas on what to do. 
I didn't have parchment envelopes and didn't want to order any.  So I just used regular envelopes that I already had and distressed the edges.  I contacted the parents to get a detail about the kids rooms.  The fonts I used were Lumos and You're Invited (I'm showing the Harry Potter one so that I don't put names or addresses of kiddos out there)


 Attached the seal to the back with more hot glue
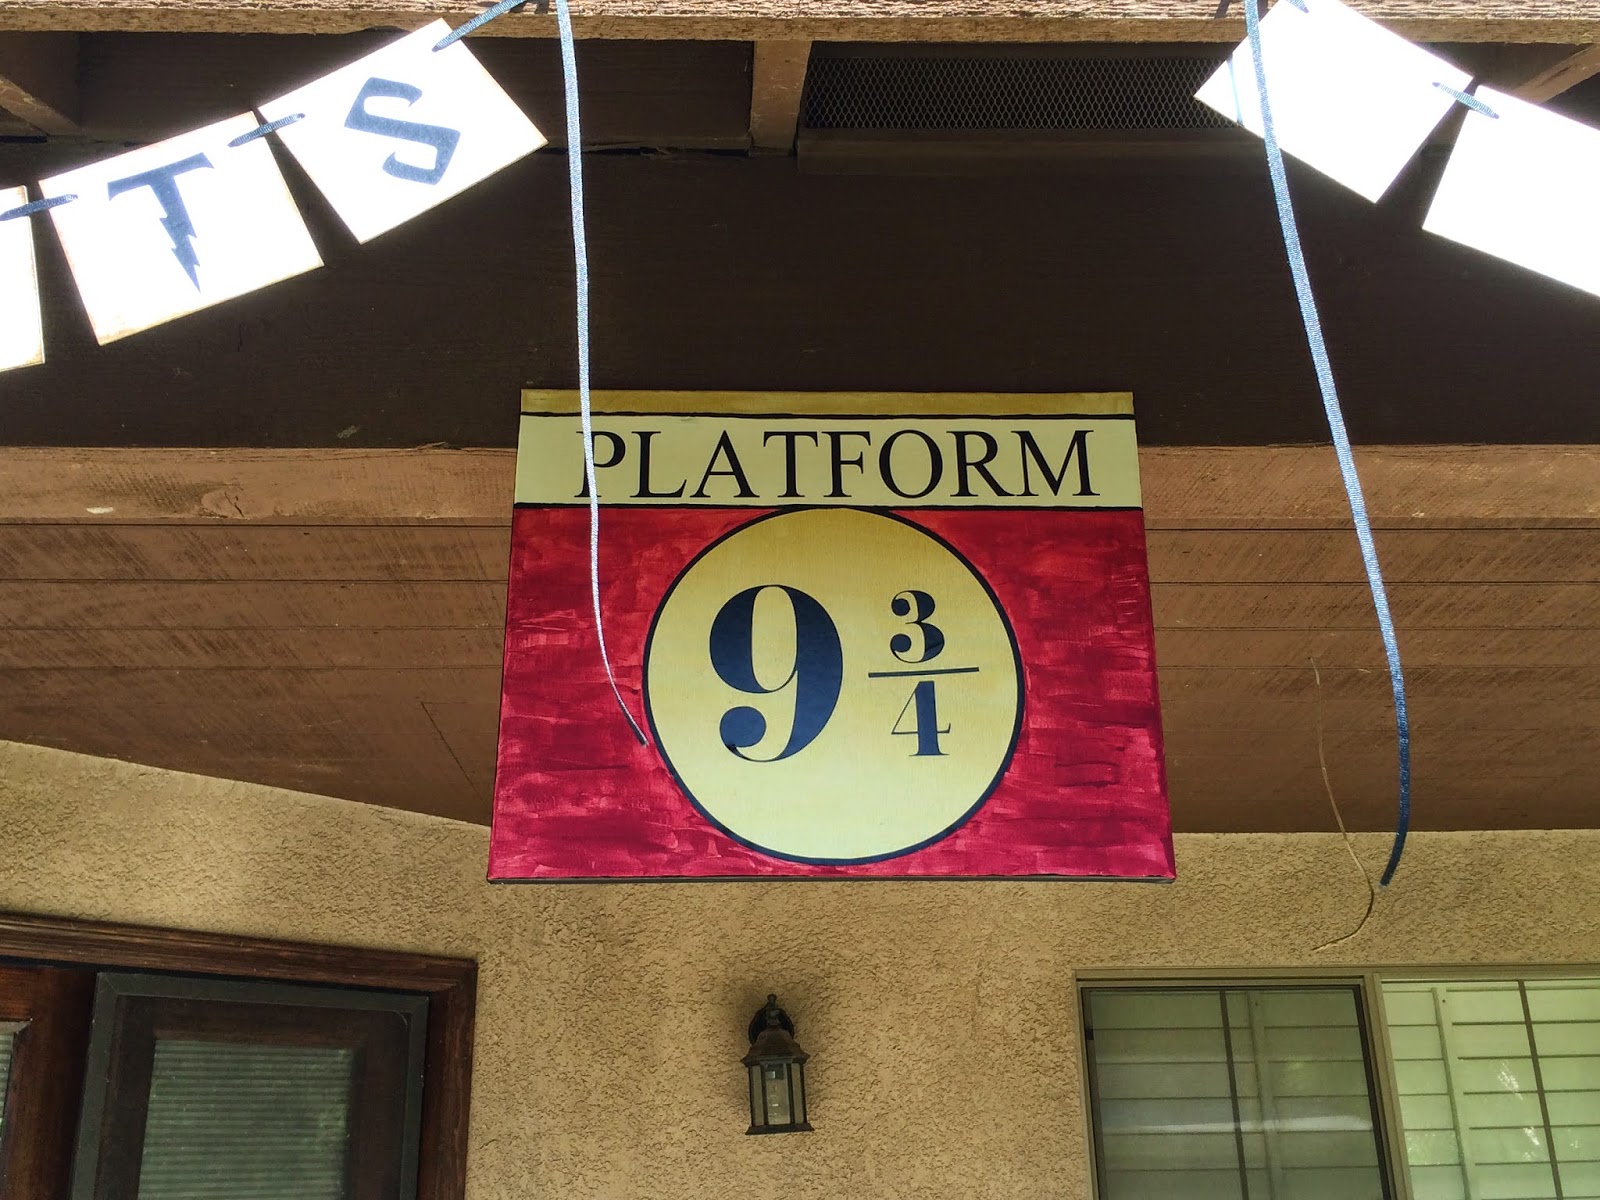
We also put a Platform 9 3/4 ticket into each envelope.  I just did a Google image search till I found one with a good resolution that I liked (apparently I didn't save the link... if I find it, I'll come back and enter it in).  
Baby Girl put on her Hogwarts shirt and our Harry Potter glasses (she thinks they look like the Lobster Bisque guy from Studio C) and we delivered the invitations!
So there's post #1!  I'll start working on the next one soon.  I have family in town right now so we will see how long it takes me to get the next one up :)